h5ai
安装
编译|下载
可以自己下载编译,也可以直接去下载作者编译好的release
git clone https://github.com/lrsjng/h5ai.git
cd h5ai
npm install
npm run build
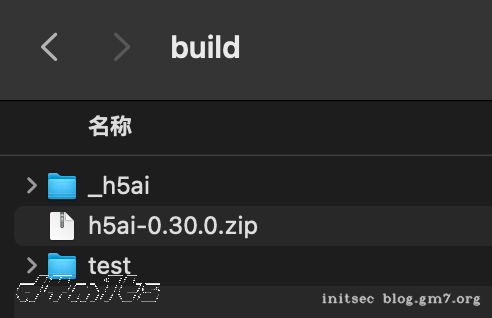
编译好后得到的目录结构如下:
环境启动
需要php环境来启动,可以用apache, lighttpd, nginx or cherokee等,我比较习惯用apache2
service apache2 status
# 确保php存在
php --version
如果发现apache2无法解析php,需要安装如下依赖
sudo apt-get install libapache2-mod-php
service apache2 restart
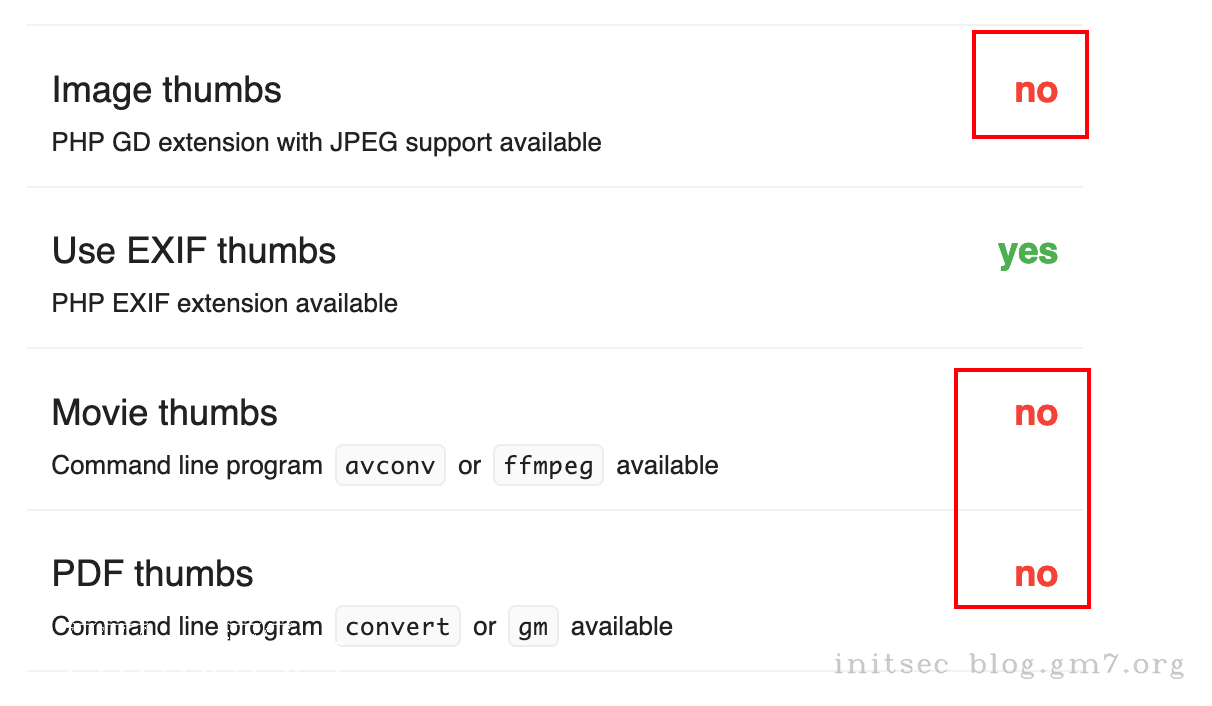
检查配置
访问http://localhost/_h5ai/public/index.php,默认密码为空
解决掉这些是no的选项
没有读写权限,可以用如下命令给权限
chmod 777 -R _h5ai/
其他什么是no就去安装什么,解决问题
# ffmpeg
apt install -y ffmpeg
# convert
sudo apt-get install imagemagick
# PHP GD extension with JPEG support available
sudo apt-get install php-gd libjpeg-dev
直到全都是yes就成功了。
修改配置
修改语言
"l10n": {
     "enabled": true,
     "lang": "zh-cn",
     "useBrowserLang": true
 },
开启文件搜索功能
"search": {
     "enabled": true,
     "advanced": true,
     "debounceTime": 300,
     "ignorecase": true
 },
二维码
"info": {
     "enabled": true,
     "show": true,
     "qrcode": true,
     "qrFill": "#999",
     "qrBack": "#fff"
 },
字体加速
把 fonts.googleapis.com 改成 fonts.loli.net
"resources": {
    "scripts": [],
    "styles": [
        "//fonts.loli.net/css?family=Ubuntu:300,400,700%7CUbuntu+Mono:400,700"
    ]
},
设置主页
vim /etc/apache2/mods-available/dir.conf
设置内容如下,将其修改为主页访问
<IfModule mod_dir.c>
        DirectoryIndex index.html index.cgi index.pl index.php index.xhtml index.htm /_h5ai/public/index.php
</IfModule>
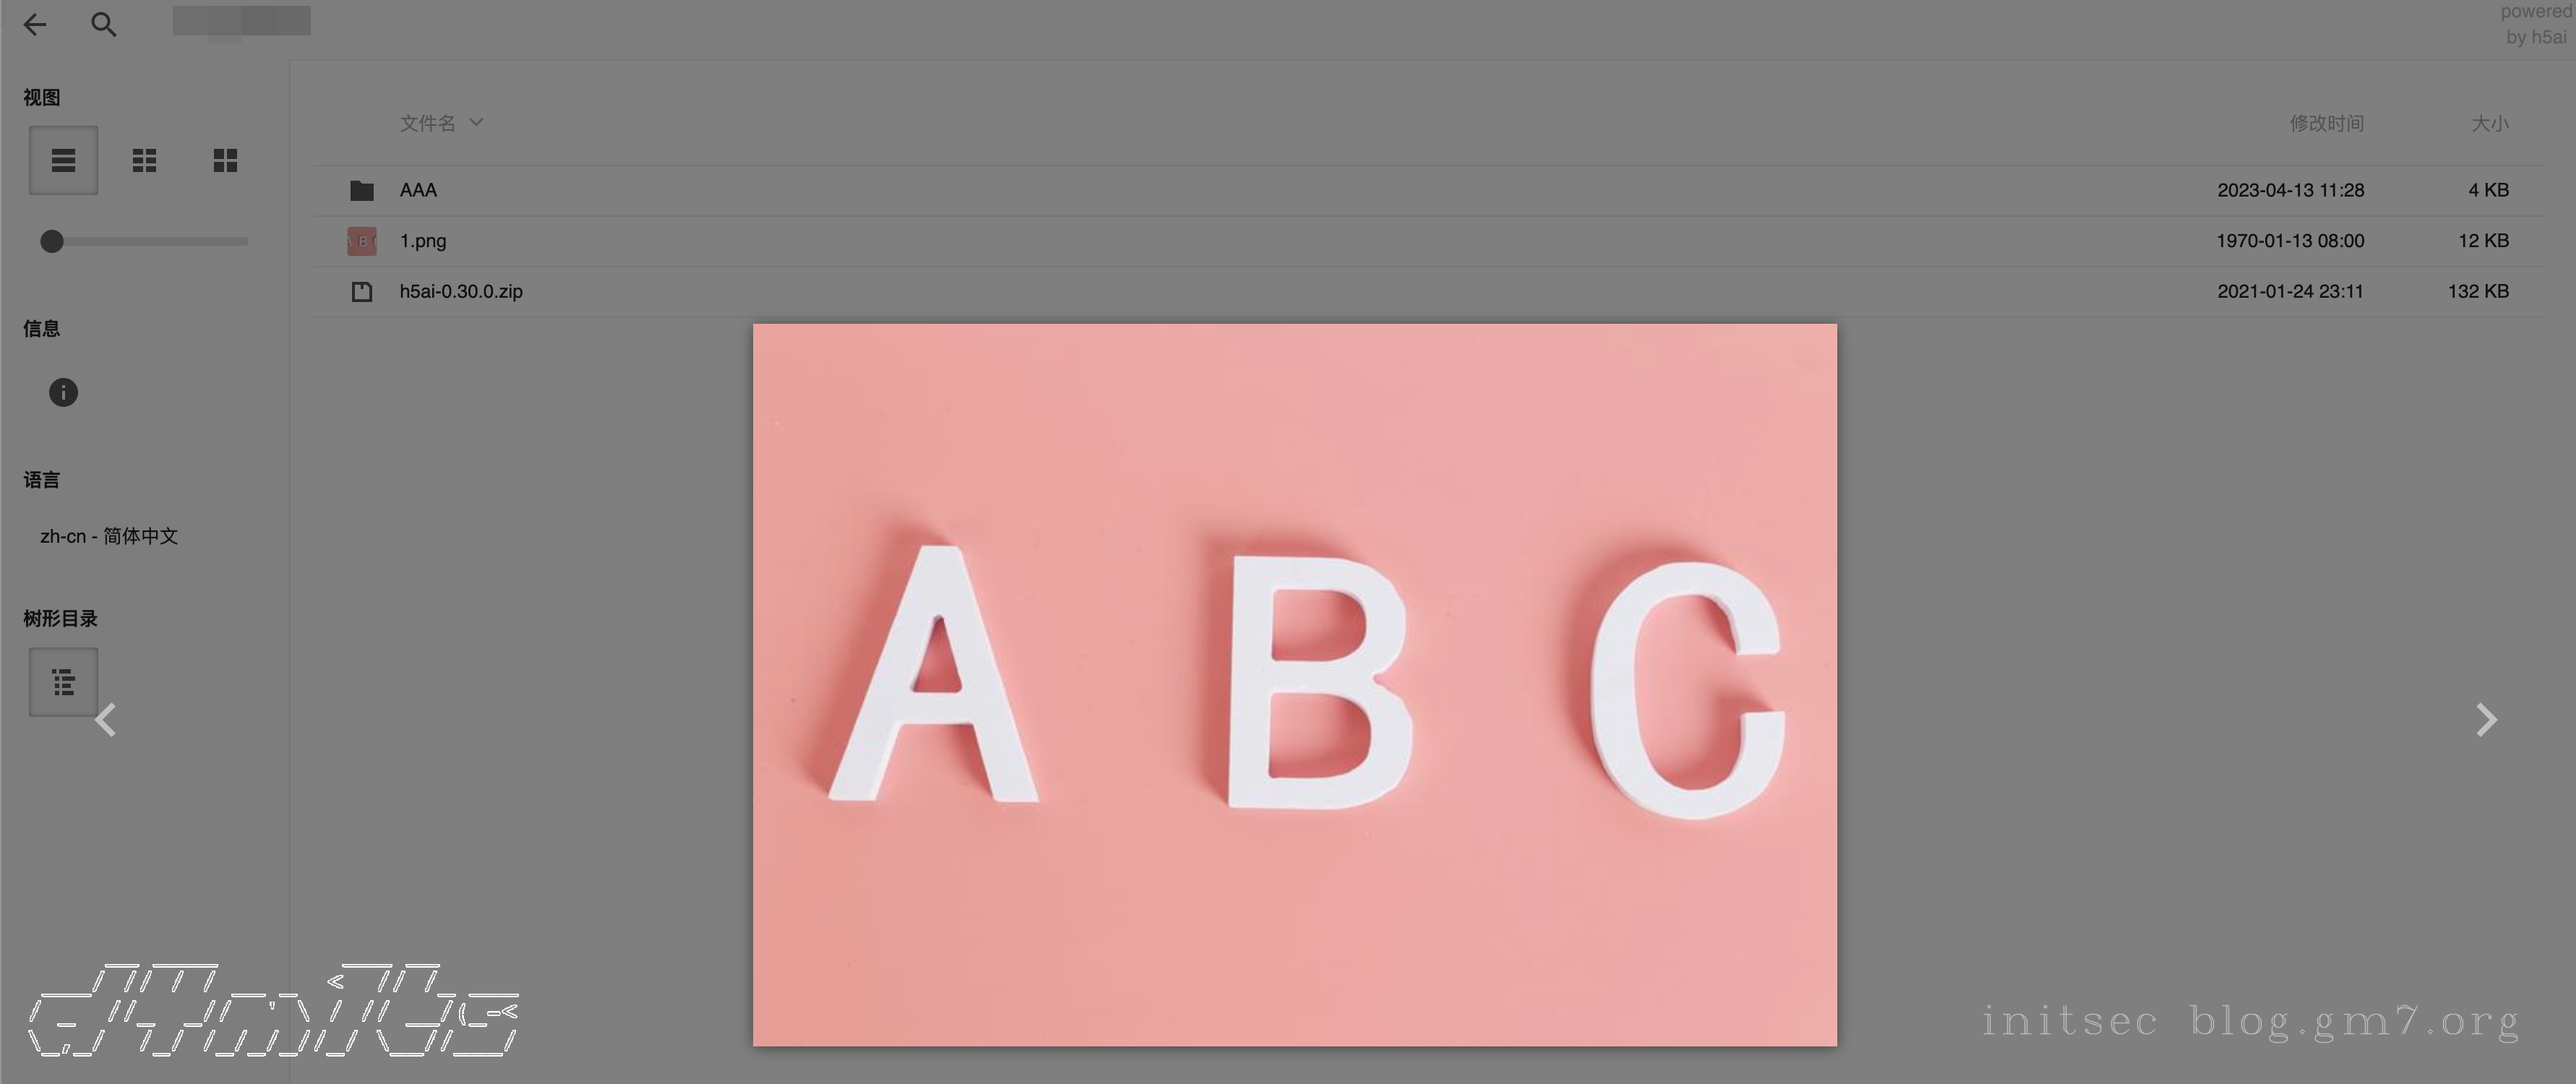
展示
安全问题
- 默认没有密码管理机制,所有人都可以访问,可以自己去设置apache2的basic认证。
/_h5ai/private/conf/options.json可以看到密钥,不过好像没什么用。